
4 posts tagged with "openid"

View All Tags

ยท 2 min read

grant is a nodejs OAuth proxy.

With few lines of code, grant can add oauth login support for any node.js app.

For example, Strapi uses grant to authenticate users via Oauth2.

This post explains how to use grant to authenticate Crossid.

Init a new project

mkdir grant-crossid && cd grant-crossid
npm -y init
npm install grant express express-session

Let crossid know about Grant

We need to let Crossid know about our grant app.

  • In Admin console, navigate to Integration โ†’ Marketplace
  • Choose Web App and click on Add Integration
  • Redirect URIs: http://localhost:3005/connect/crossid/callback

Grant your user access to this app.

  1. From the admin console, navigate to Applications -> Applications.
  2. Select your app.
  3. Click on the Users tab.
  4. Click the Add User Assignment button.
  5. Choose the created identity (e.g., Jared Dunn).
  6. Click Save.

how-to

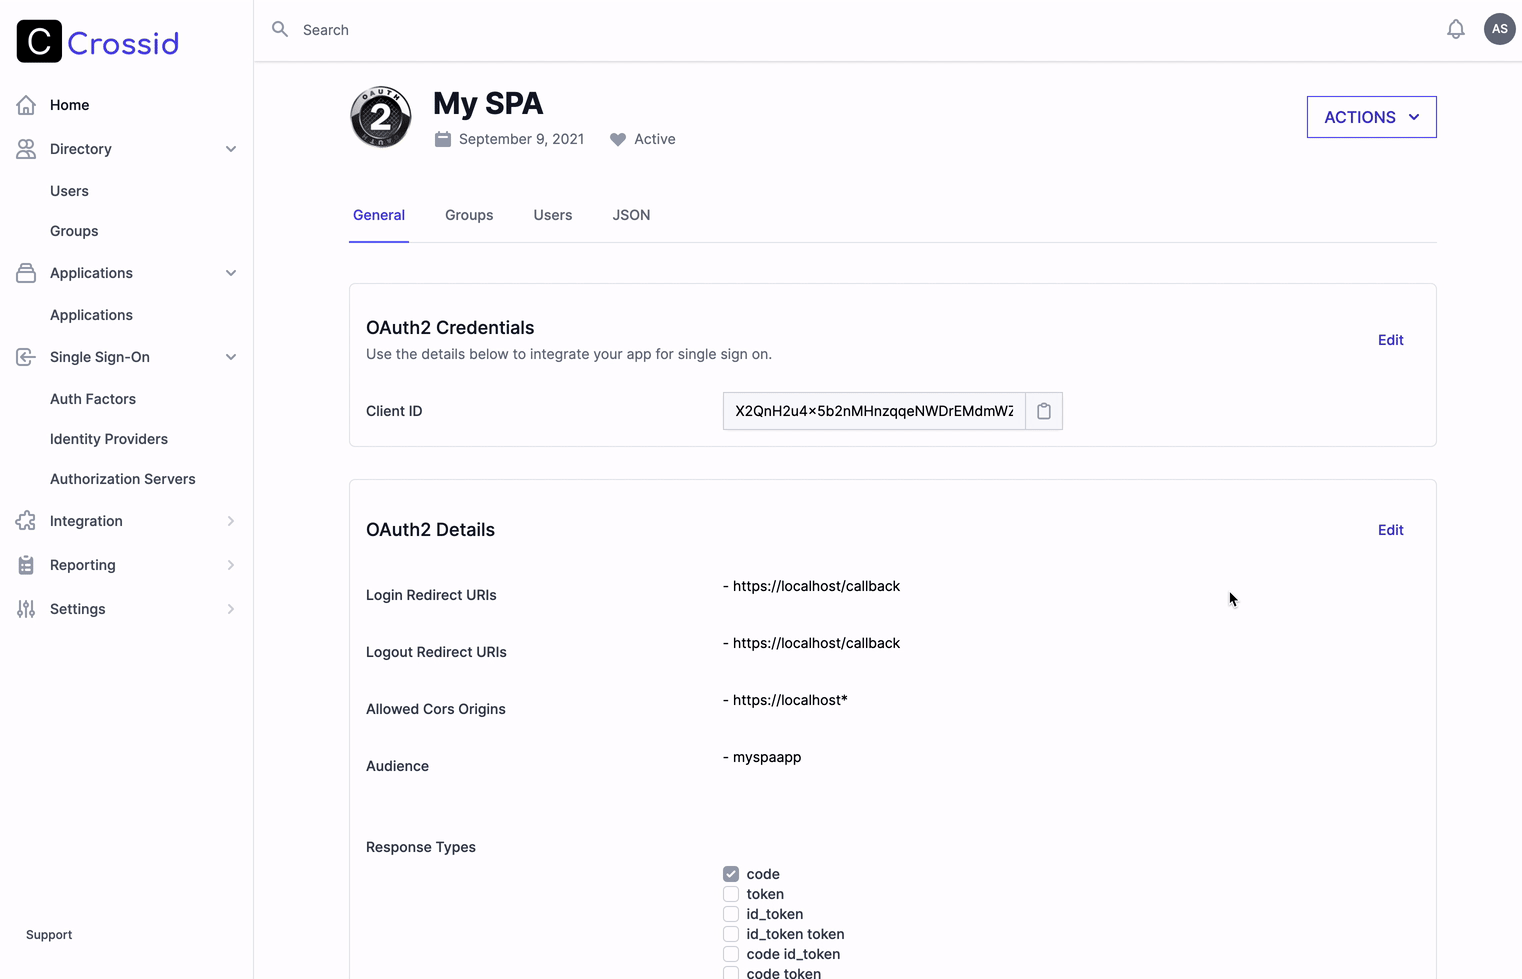
Save the Client ID to the next deployment steps.

config.json

{
"defaults": {
"origin": "http://localhost:3005",
"transport": "session",
"state": true
},
"crossid": {
"subdomain": "acme",
"key": "<client_id>",
"secret": "<client_secret>",
"scope": ["openid"],
"callback": "/hello",
"response": ["tokens", "raw", "profile"]
}
}

The configuration file defines the crossid as an auth provider.

  • replace subdomain with your tenant.
  • replace <client_id> and <client_secret> with your app credentials.

index.js

var express = require("express");
var session = require("express-session");
var grant = require("grant").express();

express()
.use(session({ secret: "grant", saveUninitialized: true, resave: false }))
.use(grant(require("./config.json")))
.get("/hello", (req, res) => {
res.end(JSON.stringify(req.session.grant.response, null, 2));
})
.listen(3005);

Try it

Run the example by: node index.js

Open browser in https://localhost:3005/connect/crossid

You should be redirected to the login page, once user is logged in, you should see the access token and the user's profile.

References

ยท 3 min read

If you want to free yourself from coding authentication for your apps, or just want to servce protected files only for your users, a reverse proxy with identity awareness can be a good fit.

Such reverse proxy, like oauth2-proxy is able to authenicate users before forwarding the requests to your app.

The proxy enhances each request with headers that identifies the the authenticated user, so your app can simply reply on those headers to establish some identity context.

This post explains how to configure and run oauth2-proxy in a docker container and authenticate users by Crossid.

Architecture

sequenceDiagram; autonumber Browser->>+Oauth2-Proxy: GET: /myapp Browser->>+Crossid: User not authenticated Crossid->>Crossid: User Signin Crossid->>Browser: User Session Created Browser->>App: GET /myapp Note right of App: forwarded-user: foo@bar.com
  1. An anonymous visitor tries to access the app.
  2. oauth2-proxy has no session for the visitor, so it redirects the user to Crossid for login.
  3. Crossid asks the user to login.
  4. oauth2-proxy creates a session for the authenticated user.
  5. oauth2-proxy proxies the request to the app with some identity headers.

Let's get started!

Add oauth2-proxy integration

First, we need to tell Crossid about our oauth2-proxy.

Login to your existing crossid tenant or signup for free.

  • In Admin console, navigate to Integration โ†’ Marketplace
  • Choose oauth2-proxy and click on Add Integration
  • Follow wizard steps.
note
  • For this example, the redirect URL should be http://127.0.0.1:4180/oauth2/callback, which is where the oauth2-proxy is located.
  • Save client_id and client_secret for the next step.

Grant your user access to proxy

Lets grant your user access to the proxy.

  • In proxy's app page, navigate to Users tab and click the Add User Assignment button.
  • Select your user and press save.

httpbin as our app

For the sake of example, we use http://httpbin.org/anything as our app. try clicking on it, it just renders our HTTP request as JSON.

Run oauth2-proxy

Lets configure and run oauth2-proxy in a docker container:

docker run --rm -p 4180:4180 \
-e OAUTH2_PROXY_HTTP_ADDRESS=0.0.0.0:4180 \
-e OAUTH2_PROXY_REDIRECT_URL=http://127.0.0.1:4180/oauth2/callback \
-e OAUTH2_PROXY_PROVIDER=oidc \
-e OAUTH2_PROXY_OIDC_ISSUER_URL=https://<tenant>.crossid.io/oauth2/ \
-e OAUTH2_PROXY_EMAIL_DOMAINS=* \
-e OAUTH2_PROXY_COOKIE_SECRET=someSecret123456 \
-e OAUTH2_PROXY_COOKIE_SECURE=true \
-e OAUTH2_PROXY_CLIENT_ID=<client_id> \
-e OAUTH2_PROXY_CLIENT_SECRET=<client_secret> \
-e OAUTH2_PROXY_UPSTREAMS=http://httpbin.org/anything \
-e OAUTH2_PROXY_SKIP_PROVIDER_BUTTON=true \
quay.io/oauth2-proxy/oauth2-proxy:latest

Replace <tenant> with your tenant (e.g., acme.crossid.io/....).

Replace <client_id> and <client_secret> from previous step.

With this configuration, every request to http://127.0.0.1:4180/anything will be proxied to the upstream (our app). We simply use httpbin.org that simply echos the request info.

Tip: for a random cookie secret run python -c 'import os,base64; print(base64.urlsafe_b64encode(os.urandom(16)).decode())'

Accessing our app

Navigate to http://127.0.0.1:4180/anything should redirect user to crossid for login. Upon successful login, the request should be proxied to our app (httpbin.org).

Partial response example:

{
...
"headers": {
"X-Forwarded-Email": "asaf@crossid.io",
"X-Forwarded-User": "EN6vzb5dNBuc6fUAkYeKZ8"
},
"method": "GET",
"url": "http://127.0.0.1/anything"
}

X-Forwarded-User should be the crossid user id and X-Forwarded-Email should be user's email.

Tips

Recap

We have seen how we can free our app from auth complexity by lifting the auth complexity to oauth2-proxy.

For more info about oauth2-proxy, visit https://oauth2-proxy.github.io/oauth2-proxy/docs.

ยท 3 min read

Echo is a high performance, extensible, minimalist Go web framework.

This post explains how to protect Echo endpoints with access token issued by Crossid OAuth2 auth server.

Init an Echo app

mkdir myapp && cd myapp
go mod init myapp
go get github.com/labstack/echo/v4
go get github.com/MicahParks/keyfunc

Lets create server.go with few routes that require different access level.

package main

import (
"net/http"

"github.com/labstack/echo/v4"
)

func main() {
e := echo.New()
// accessible anonymously.
e.GET("/", func(c echo.Context) error {
return c.String(http.StatusOK, "Public!")
})
// renders the authenticated user.
e.GET("/whoami", func(c echo.Context) error {
return c.String(http.StatusOK, "Whoami!")
})
// accessible only by users that assigned to the "admin" scope.
e.GET("/admin", func(c echo.Context) error {
return c.String(http.StatusOK, "Admin!")
})
e.Logger.Fatal(e.Start(":1323"))
}

We defined three routes:

routeaccess level
/accessible by everyone including anonymous visitors.
/whoamiaccessible by any authenticated user
/adminaccessible by an authenticated user that is assigned to the admin scope.

Start server

go run server.go

At this point, all routes are accessible by everyone:

curl http://localhost:1323/
curl http://localhost:1323/whoami
curl http://localhost:1323/admin

Auth middleware

Echo has its own JWT middleware to protect routes with JWTs.

Lets create a JWT Middleware instance:

func authmw() echo.MiddlewareFunc {
// jwksURL is the URL of the public JSON Web Tokens that sign our tokens.
jwksURL := "https://<tenant>.crossid.io/oauth2/.well-known/jwks.json"
jwks, err := keyfunc.Get(jwksURL, keyfunc.Options{
RefreshErrorHandler: func(err error) {
panic(fmt.Sprintf("There was an error with the jwt.KeyFunc\nError:%s\n", err.Error()))
},
})

if err != nil {
panic(fmt.Sprintf("Failed to create JWKs from resource at the given URL.\nError:%s\n", err.Error()))
}

// initialize JWT middleware instance
return middleware.JWTWithConfig(middleware.JWTConfig{
// skip public endpoints
Skipper: func(context echo.Context) bool {
return context.Path() == "/"
},
KeyFunc: func(token *jwt.Token) (interface{}, error) {
// a hack to convert jwt -> v4 tokens
t, _, err := new(jwtv4.Parser).ParseUnverified(token.Raw, jwtv4.MapClaims{})
if err != nil {
return nil, err
}
return jwks.KeyFunc(t)
},
})
}
  • line 3 - We must provide a valid well known JWKs endpoint where all public keys used to sign tokens are exposed.
  • line 26 - is the actual function that performs the access token verification against the authorization server keys.

Use MW in Echo

Simple tell Echo to use the jwt middleware before all routes.


func main() {
e := echo.New()
e.Use(authmw())
// ...
}

Protecting admin

To protect admin route with specific scopes, replace the admin handler with:

e.GET("/admin", func(c echo.Context) error {
// the authenticated token is store by the middleware as "user"
tok := c.Get("user").(*jwt.Token)
// access token scopes
scps := tok.Claims.(jwt.MapClaims)["scp"].([]interface{})
allowed := false
for _, scp := range scps {
if scp == "admin" {
allowed = true
break
}
}

if !allowed {
return c.JSON(http.StatusForbidden, map[string]string{"message": "Insufficient privileges"})
}

return c.String(http.StatusOK, "Admin!")
})

Whoami endpoint

Lets implement the whoami route to print the verified token's claims:

e.GET("/whoami", func(c echo.Context) error {
cl := c.Get("user").(*jwt.Token).Claims.(jwt.MapClaims)
return c.JSONPretty(http.StatusOK, cl, " ")
})

Recap

We have seen how simple is to start an Echo server with various access levels route protection.

What's next?

  • See Get Started guide how to use Crossid, you can start for free.
  • For other frameworks see Languages.

Full sample available at here.

References

ยท 3 min read

If a self-hosted OIDC / OAuth2 provider is your thing, then most chances Hydra would be your best choice.

This post explains how to write a single page app (SPA) in js, with no backend that performs authentication via Hydra.

It uses crossid-spa-js, a javascript OAuth2 client (with PKCE) that suites for SPA apps that is able to sign users in and out with advanced features such caching and refresh token.

Setup Hydra

This setup is based on the 5 Minutes Tutorial which:

  • setup Hydra as an OAuth2 provider.
  • setup a server that serves an example of a login page.
  • create a client configured for SPA apps.

Configuration

Hydra needs to be configured with:

  • admin CORS enabled for the OIDC wellknown endpoint.
  • public CORS enabled for the token endpoint.
  • issue access tokens in JWT format.

Edit contrib/quickstart/5-min/hydra.yml with:

serve:
...
admin:
cors:
enabled: true
public:
cors:
enabled: true
strategies:
access_token: jwt

Start Hydra:

$ docker-compose -f quickstart.yml \
-f quickstart-postgres.yml \
up --build

Starting hydra_postgresd_1
Starting hydra_hydra_1

Create a client

The client needs to be created as follows:

$ docker-compose -f quickstart.yml exec hydra \
hydra clients create \
--endpoint http://127.0.0.1:4445 \
--id myspa \
--grant-types authorization_code,refresh_token \
--response-types code,id_token \
--token-endpoint-auth-method none \
--audience myspa.com \
--scope openid,offline \
--callbacks http://localhost:3009 \
--allowed-cors-origins http://127.0.0.1:3009


OAuth 2.0 Client ID: myspa
This OAuth 2.0 Client has no secret

We should not create a secret and set token-endpoint-auth-method to none as public clients cannot provide a secret.

SPA app

Our SPA app is a vanilla (frameworkless) javascript app sign users in, once user signed in, the user's profile will be displayed.

note

If you use React, try crossid-react that wraps the crossid-spa-js library in a more convinience way.

Clone the crossid-spa-js-example repo:

git clone https://github.com/crossid/crossid-spa-js-example myspa
cd myspa
npm install

This example is composed only from two files: src/main.js which contains the logic to initialize a client and signin and index.html which is the html of our app.

Lets edit src/main.js to init a Client that matches the params of the Hydra client we created above.

// ...
import { newCrossidClientByDiscovery, Client } from "@crossid/crossid-spa-js";

// inits a client that handles signing users in and out.
export const initClient = async () => {
const client = await newCrossidClientByDiscovery({
// configure a client by the oidc configuration well known endpoint
wellknown_endpoint:
"http://localhost:4444/.well-known/openid-configuration",
client_id: "myspa",
audience: ["myspa.com"],
scope: "openid offline",
redirect_uri: "http://localhost:3009",
// default cache is 'memory', enable to preserve user in cache
// cache_type: "session_storage",
});

return client;
};

//...

Take a look at index.html that uses our login method.

Start the spa app:

npm run dev

And open browser at http://localhost:3009

Recap

We see more and more SPA apps, crossid-spa-js library makes it easy to integrate any JS app with OIDC provider such Hydra.

tip

Interested in SAAS identity platform? visit crossid.io